Story time! BZZZZZZZZZZZZZZZZ! That's what we had to deal with while playing our Nintendo Switch. We used to be able to Han Solo it, that is... smack it on the side, and the buzzing would stop. But recently that stopped working. And the buzzing was annoying enough to do something about it.

The whole fan area is a little smashed, if you can tell. There were a few plastic pieces here, that are now missing. I don't remember dropping it or anything, it's just a launch-day-old thing that just got brittle over the years. We looked up "buzzing Switch" and The Internet told us we could handle replacing the cooling fan. How did that go? Let's find out!

A new OLED Switch costs $350. Which would also give us a slightly bigger screen, but instead the fan was $15, and some needed Thermal Paste was another $5. It's a little crazy to think something like this is available, and so inexpensive. Do I even need to plug Amazon? Where else would you get this?

Here's the video we watched. Spoiler alert, this was not the best video to have watched. While it was mostly good, they left out an important part, which I'll get to later.

The fan included the two tiny screwdrivers we would need. Cool! I think we had a tiny screwdriver kit that had these tiny sizes, but since these were included, we didn't even need to check on that.

Okay, the back cover is off! Are we really doing this? Delicate expensive circuits and stuff in here.

The underneath metal cover is off, too. Now this is really starting to look scary. So much stuff is mess-up-able, you think?

The Heat Sink thing had a couple of fabric sponges that were glued down, we were careful enough not to rip them. The guy in the video ripped his a little. The old fan is OUT!

The new fan is IN! There were rubber circle things around the screws that you had to pull off the old one and squish into the new one. Not a big deal, but a little effort to be careful with that, too.

Bloop! There goes the thermal paste. Not exactly sure what's the big deal, but the video told me I'd need to do this, so bloop it goes.

Another spot of thermal paste on top, too. I guess that heat needs to travel somehow, and the peeled-off plate with the dried paste was not good enough anymore.

Here's where the video skipped a step and we kinda... messed up. Under this rubber square they told us to press down and another thing would connect back to the circuit board. They acted like it was no big deal, but it was. We didn't quite know it yet though.

With the metal back on, it was okay to power up the system to see if it worked. And... YAY! We had to actually LOOK at the fan to see if it was spinning, and it totally was. It was sooooo quiet. Wooo!

The plastic back did not fare so well. Turns out the old brittle plastic somehow busted the top AND bottom screw connector holes. D'oh! You can see where my hoof is pointing, and the two on the bottom were gone as well. The four corner screw holes were fine, so it was still held down pretty good.

While the Switch was working, with a now silent fan, it turns out it would not load any of our games. Most of them were downloaded to the memory card, which would NOT recognize as "in". Turns out that we crushed the connector bits that were underneath that rubber square. This is where we did an internal "AAAAARRRRRGGGGHHHHHH!!!!!" Because the video did not really warn us about the crushing.

Right before we flat-out quit, we instead immediately search if they sold replacement memory card slots, and... YES! We actually found one for only $8.50. Boom. Bought instantly. Again, it's a little crazy that something like this is even available.

Here's the old fan, and various broken plastic bits that were inside the Switch. Also the now-useless screws. No mystery that the fan was old and brittle and buzzy, too. There might have been plastic bits inside it, maybe.

It was painful waiting a few days for the new piece to get here. I can't do my daily Animal Crossing chores? Habits, right? Hey... I can quit anytime I want to! The new piece also came with extra screwdrivers!

Ooops, I forgot to jump into this picture! I wanted to get a picture to zoom into, so we could get a better sense of where the connectors were. If you can't tell, you have to connect it "blindly" because from the back, you can't see where the slots go. And this picture makes them look a lot sturdier than they were, these things were mega-small and shallow.
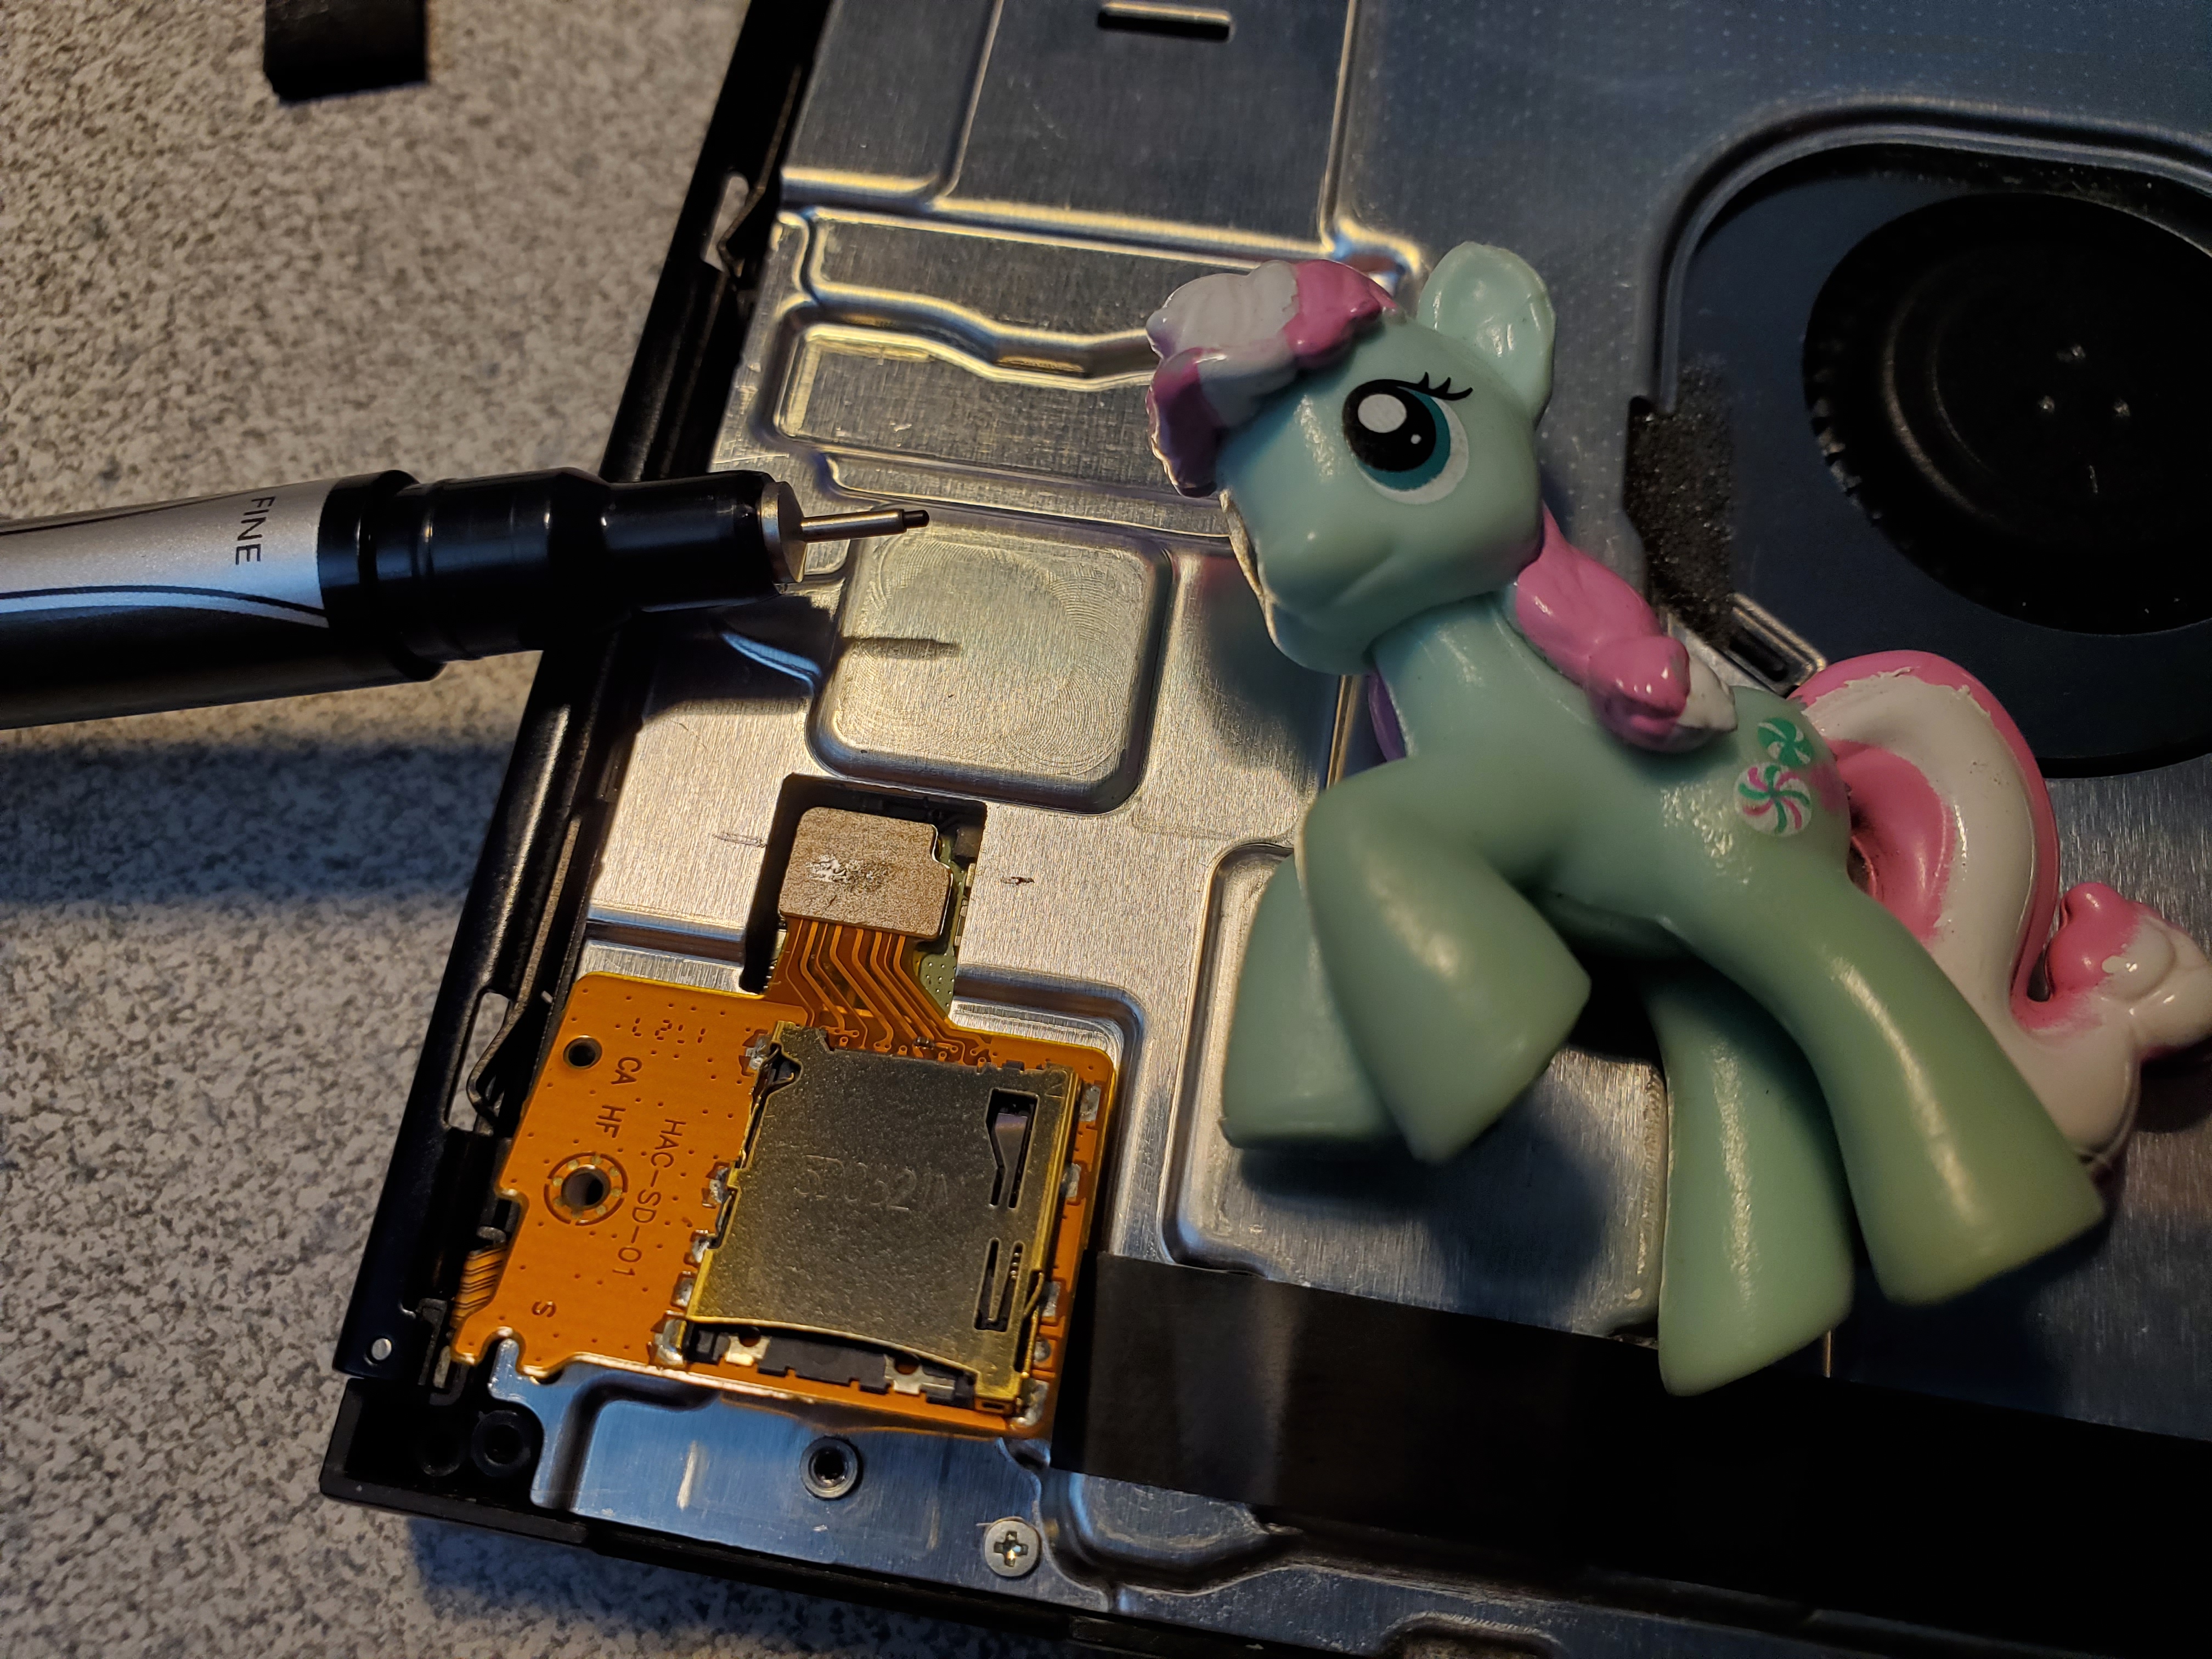
Clever-ness and a Sharpie to the rescue! When you held the piece up to the light, you could see where the connector was, and I marked it on the back. Then I eye-balled the connector on the base, and marked lines on each side. I put all the lines in a row... and very gently pressed down.... and SNAP! I could totally tell it worked. I replaced the rubber square and even put in a few more carboard squares, we cut to size, to hold it down super-good. I did not want that thing to pop out again.

Huzzah! Total success! It loaded a game from the memory card. Whew! Small shout-out to Disney Dreamlight Valley. It's similar to Animal Crossing, but with Disney characters from various Disney stuff.

Animal Crossing was fine as well. I was a little worried for Fort Pillow, since the memory card might have been needed to transfer our island to a new Switch. But now I'm glad I don't have to figure that out. Altogether, including shipping, it was around $35 to fix the buzzing fan. Since it worked out okay, I can say "It was worth it!" But also, I did mess it up, too. So... is there a lesson here? I'm just glad it's nice and quiet now.
No comments:
Post a Comment